
Taiga Clematis Shop New Vines with
Caring for Potted Clematis Plants. Clematis planted in a container requires regular irrigation because potting soil dries quickly. Check the plant every day, especially during hot, dry weather. Soak the potting mix whenever the top 1 or 2 inches (2.5-5 cm.) feels dry. Fertilizer provides the nutrients Clematis needs to bloom throughout the season.

13 best clematis in pot images on Pinterest Flowers garden, Backyard ideas and Backyard patio
Planting Clematis in Pots. Be sure to use a large container for clematis, because the extra soil in the planter will help protect the roots in the winter and during hot summer days. We recommend a planter at least 24 inches in diameter. The best material for the planter is resin plastic because terra cotta or ceramic planters can crack in the.

Lily Of The Valley best contained in a pot, but so pretty and fragrantlooking for balcony
Before placing the compost in the container do place crocks or pebbles over the drainage holes in the bottom of the container; this gives additional help with drainage. Before planting your new clematis, soak it in its pot for 20 minutes in a bucket of water. This will ensure that the rootball is totally wet.
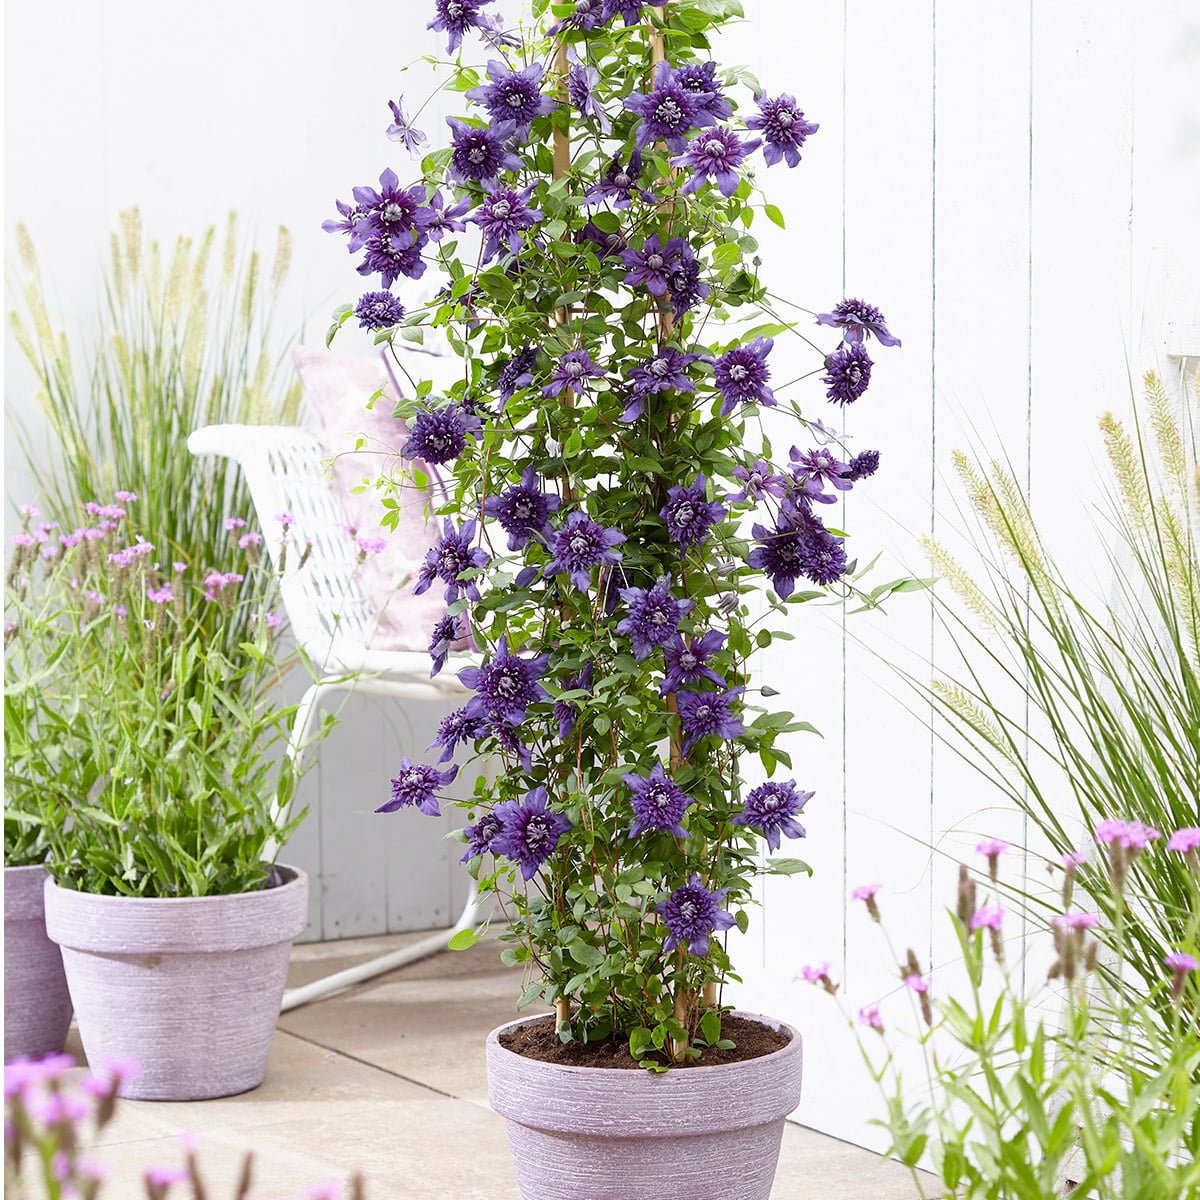
Repeat Flowering Double Clematis Plants Richard Jackson Garden
Clematis are also prone to an attack from earwigs, which chew holes in the flower petals.This damage is only cosmetic and doesn't harm the plant. If you're really concerned you can create earwig traps by pushing a 1m long cane into the ground next to the clematis. Stuff a plastic plant pot with straw and place it upturned on the top of the cane.

The InDepth Guide To Growing Clematis In Pots Container gardening flowers, Clematis, Flower
Clematis for containers. Early-flowering clematis of moderate vigour make the best choices for container growing. Whether positioned against a wall trellis or grown up an obelisk, these compact climbers are perfect where space is limited. Advertise here. Get involved. The Royal Horticultural Society is the UK's leading gardening charity..

clematis in a pot Container gardening, Plants, Garden inspiration
3. Soak And Plant Your Clematis Starter. Using warm water, soak the roots of your clematis starter for an hour or two before planting. This will rehydrate the roots and give them a better start in the soil. While the roots soak, fill your planter with well-draining soil.

Growing Clematis in Pots Pyracantha.co.uk
The smaller varieties of Clematis typically grow about 4″ feet high with a spread of 2-to-4′ feet. Their growth can be controlled and guided with regular pruning. What Type Of Pot Is Best For Growing Clematis? Even with the smaller varieties of Clematis, you will need a large pot to accommodate the plant's roots.
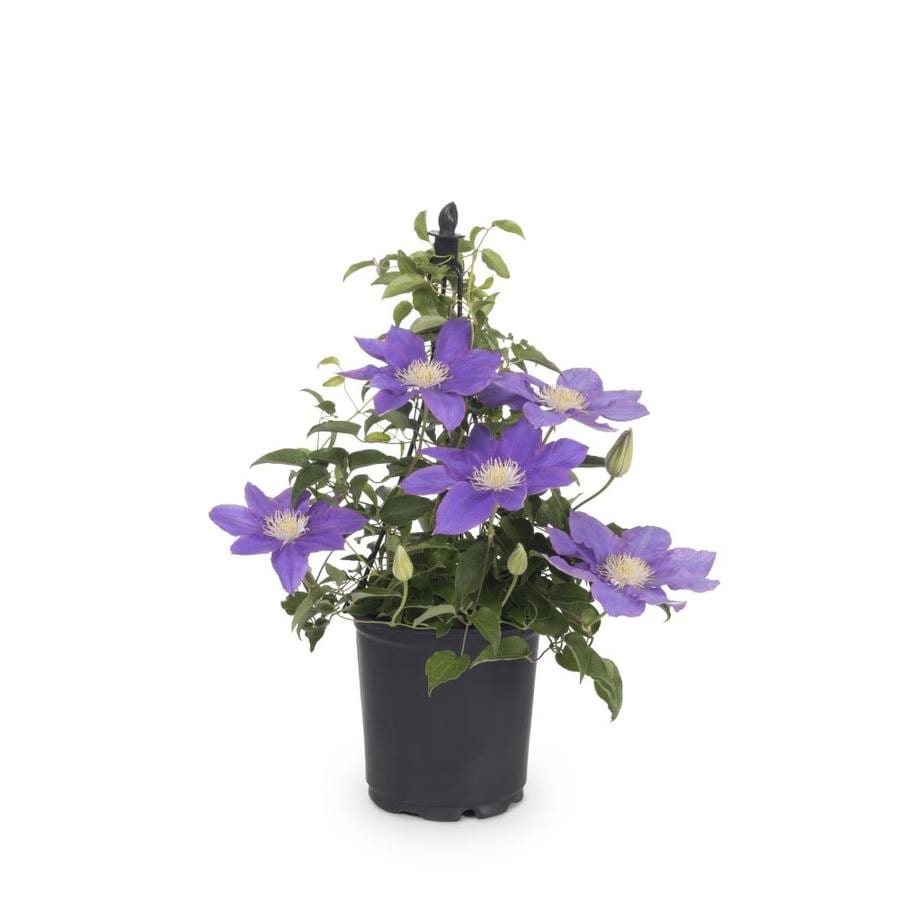
Monrovia 1Gallon in Pot Clematis at
A new container should be prepared as previously described, using fresh potting mix. Make a hole as wide and deep as the root system and replace it, backfilling around it with additional soil. Press the soil with your hands to firm the top, and water your clematis in well to settle the medium.
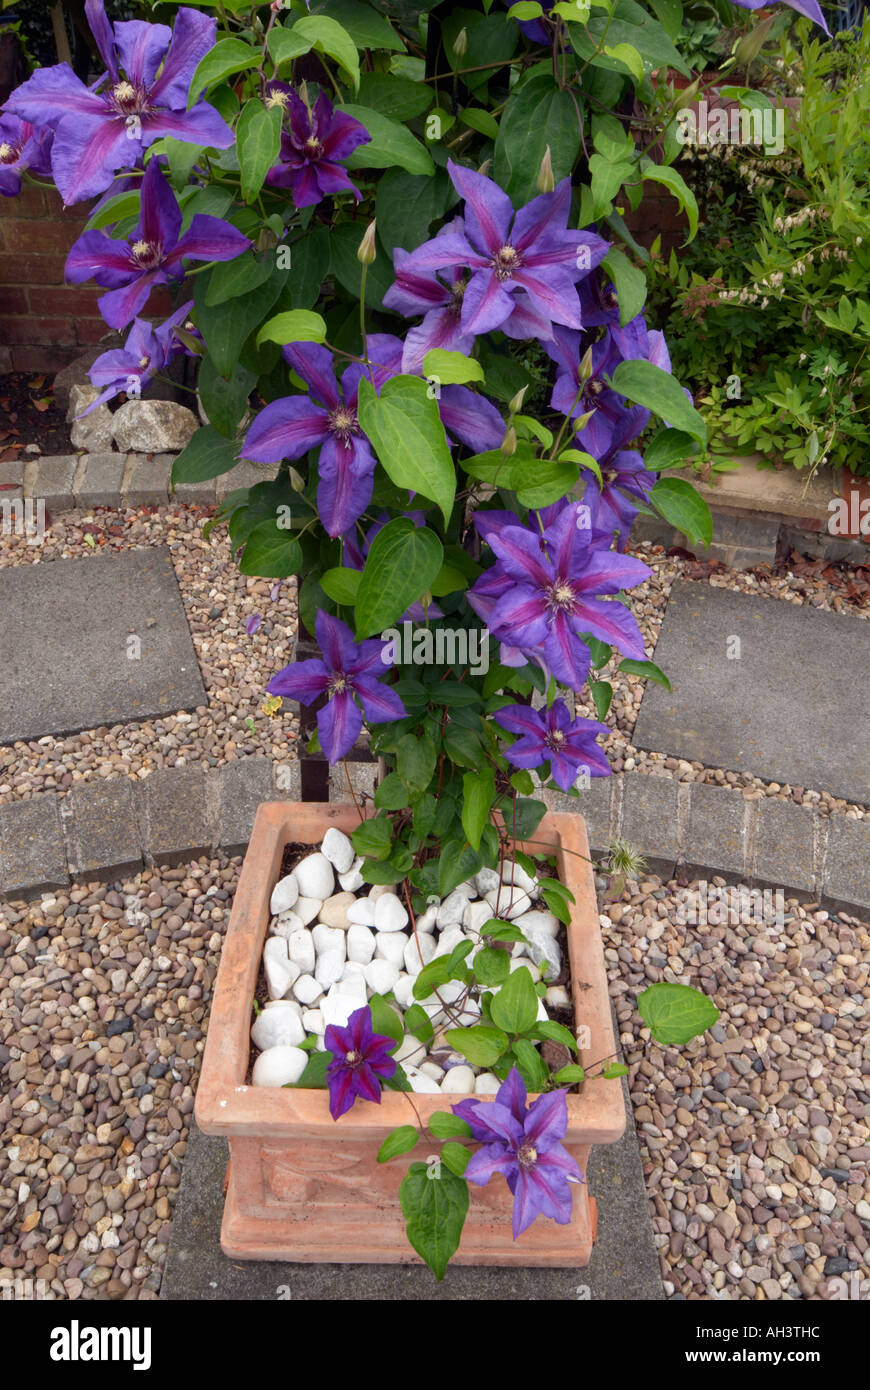
Clematis "Mrs N Thompson" growing in a large terracotta pot Stock Photo 8199451 Alamy
How to Grow Clematis in a Pot. The best way to propagate clematis in pots is by cuttings. Take a 4-6 inches long cutting from a healthy plant in April or May. Take out all the lower leaves, and plant it in a pot filled with a good quality potting mix. Cover the pot with a clear plastic bag, and keep it in a warm spot, away from direct sunlight.
How to Grow Clematis in Containers Gardener’s Path
Clematis can be overwintered in pots and containers, even in the coldest climates - providing they belong to the correct group for your zone, and your container is freeze-safe. Most wood, plastic, resin, metal, or fiberglass pots should tolerate an extended freeze.

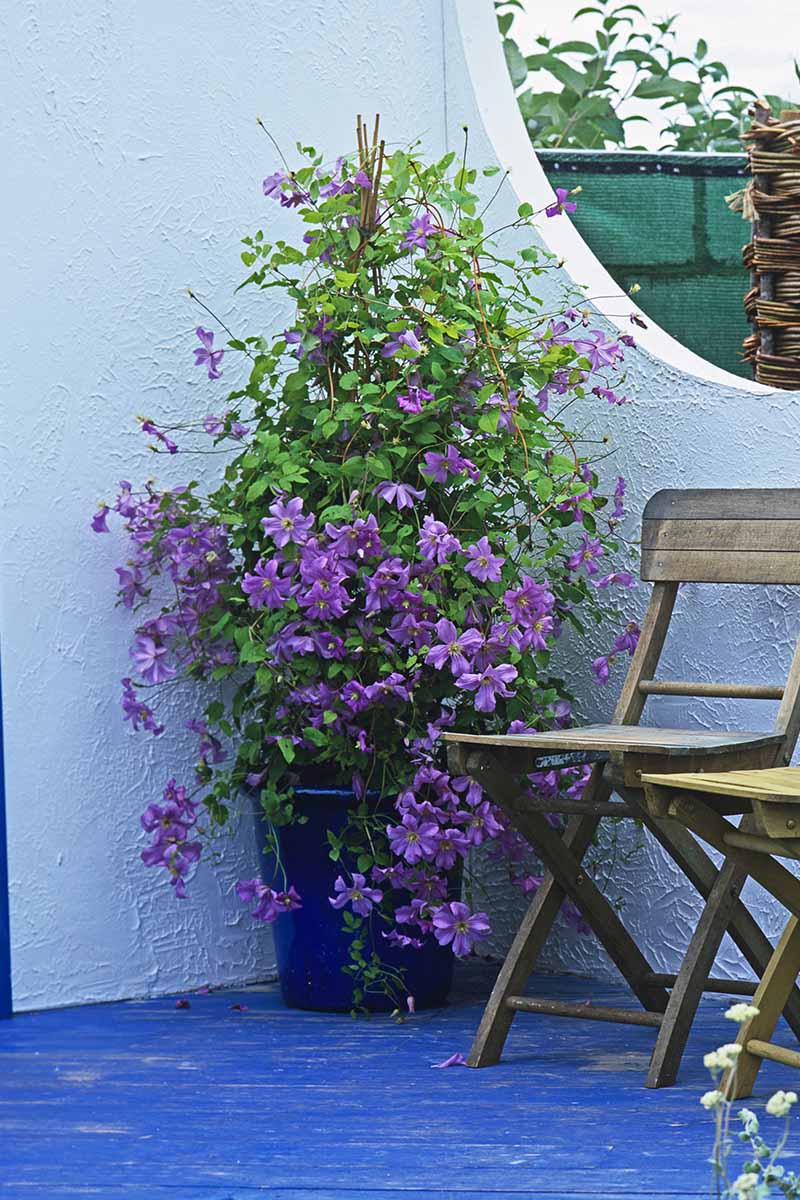
My beautiful purple clematis. Purple clematis, Container gardening, Plants
Don't use a plastic pot if you're going to grow clematis out on a deck garden or a patio, says Evison. These pots aren't well insulated and will get hot quite quickly, increasing evaporation and dehydration in your plant. Use one with holes in the bottom because even though your clematis likes water, it needs to have adequate drainage to.

Clematis Ooh la la Taylors Clematis
Fill the container to within 3 inches of the rim with a suitable potting soil. Ease the rootball of your clematis plant out of the pot and nestle into the compost with the root crown buried below the surface of the soil. 'Finally, stand the pot on "feet" to ensure that surplus moisture freely drains away, and water copiously to ensure that.

Clematis planten wanneer en hoe doe je dat Gardeners World
Pack the compost down firmly. Clematis roots can grow in tightly packed soil, and the firmer you pack it in, the less it will sink upon being watered. Ideally, the top of your soil will only be 2 inches (5.1 cm) below the rim of the container. 5. Drench the root ball in water.
How to Grow Clematis in Containers Gardener’s Path
Choosing The Right Clematis for Containers. Clematis require a cool, moist root run, and growing one in a free-standing container inevitably opens the root system to the vagaries of the weather. In the summer the pot and its contents may become very hot and dry. In the winter, if it is not given some protection, the root system can be frozen solid.

Growing Zone For Clematis / Clematis the queen of vines All you need to know about growing
5. Planting Your Clematis. Plant your clematis in the pot in the early spring or fall. Make sure the top of the root ball is level with the soil surface. Avoid planting it too deep, as this can lead to stem rot. Water thoroughly after planting to settle the soil and ensure good root-to-soil contact. 6.

double clematis Clematis, Container Gardening, Growing, Canning, Plants, Reference, Hope
To grow Clematis indoors in pots, choose a well-draining pot and a sunny location near a window. Use a high-quality potting mix and provide a trellis for support. Keep the soil evenly moist but not waterlogged. Fertilize every 4-6 weeks during the growing season and prune as needed to maintain shape.